
How it works
From a demo to your first computer-based exam
ExamKeep is set up for each school by us, so your school’s space, address and records are created correctly from the start. Here is what happens, and what each step needs from you.
Getting started
Six steps, in this order
- Step 1
Request a demo
Tell us about your school. We show you a full sitting, from a question being approved to results being published, and answer your staff’s questions.
What you need: An hour with the people who will run exams: the principal or VP academics, the exam officer and your ICT lead.
- Step 2
Agree the details and pay
We agree the number of students and your school’s web address, such as yourschool.examkeep.com, and send the agreement, including how your data is handled, and an invoice.
What you need: The name and email address of the person who will be your school admin.
- Step 3
Receive your activation key
Once payment is confirmed we create your school’s space and email an activation link to your school admin. The key in it is used once, to activate the school.
What you need: Your school admin opens the activation link in the email and sets a password.
- Step 4
Set up the school in the wizard
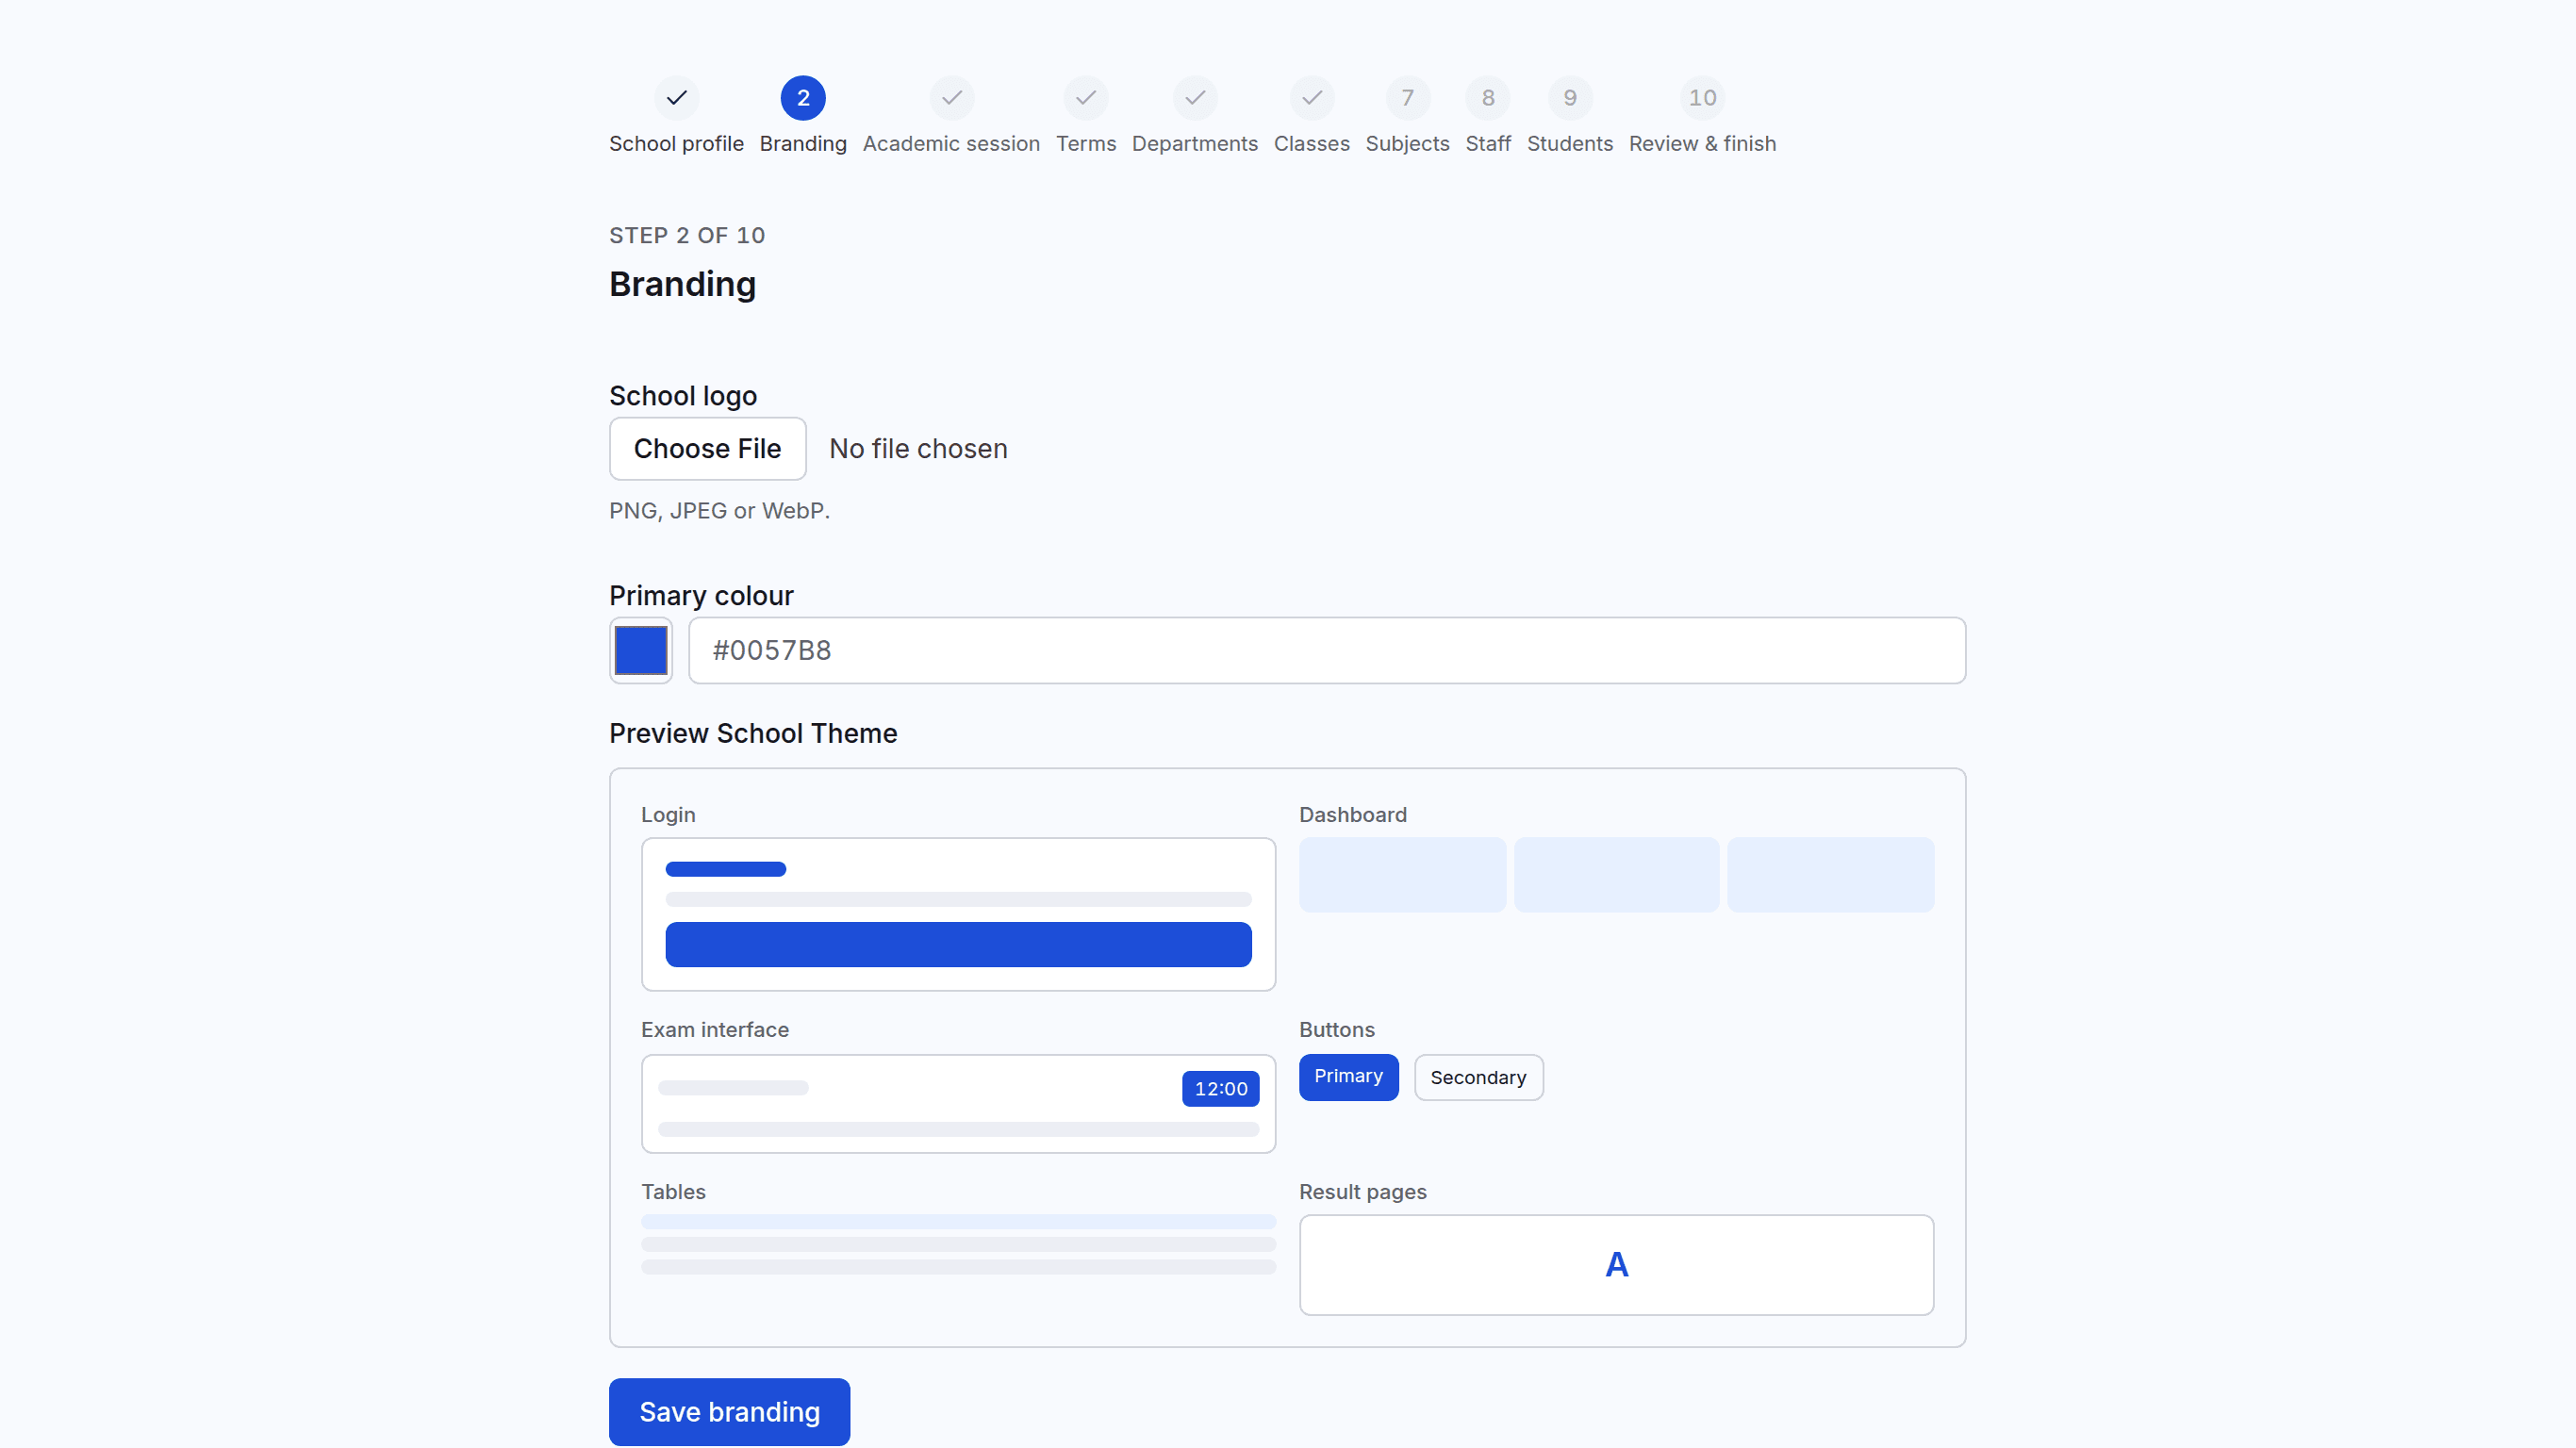
The wizard walks through the school profile, logo and colour, academic session and term, departments, classes, subjects, staff and students. It saves as you go and can be finished later.
What you need: Class lists and staff lists. A spreadsheet is fine: students and teachers can be imported from a CSV template.
- Step 5
Prepare questions and the lab
Teachers write or upload questions and HODs approve them. Each lab computer opens your school’s address once, so the exam screen loads from the computer itself on the day.
What you need: A lab contact, and a short practice sitting with one class before the first real exam.
- Step 6
Run your first exam
Build the exam from approved questions, open it for the first batch, and watch the sitting live. Papers are marked as they are submitted.
What you need: Invigilators in the lab, and the exam officer at the Exam Control Center.
Every exam after that
The same five steps, every time
Each step is done by the person whose job it already is, and each leaves a record.
Teachers write questions; HODs approve them
Questions are written by subject and class level, then reviewed by the head of department. An approved question cannot be quietly edited afterwards: changes create a new version that is reviewed again.
Build the exam from approved questions
Pick the questions, set the duration and marks, and choose the classes it is for. One exam can serve several arms of the same class, such as SS2A, SS2B and SS2C.
Open it for a class or a batch
Run the exam in sittings to fit the number of computers you have. There is no single school-wide start time: each batch is opened when its students are seated.
Each student sits with their own clock
A student’s time starts when they start, and is kept by the server, not the computer. Question order and option order can be shuffled for each student.
Marked at once; published when you decide
Objective answers are marked automatically as each paper is submitted. Results stay with staff until the school chooses to publish them to students.
See it with your own exams in mind
We’ll walk you through a sitting from start to published result, and answer the questions your staff will ask.